
What the buyer or site team sends
Vehicle data, approach direction, floor or pit condition, local power, destination, site photos and a marked plan, CAD file or hand sketch.
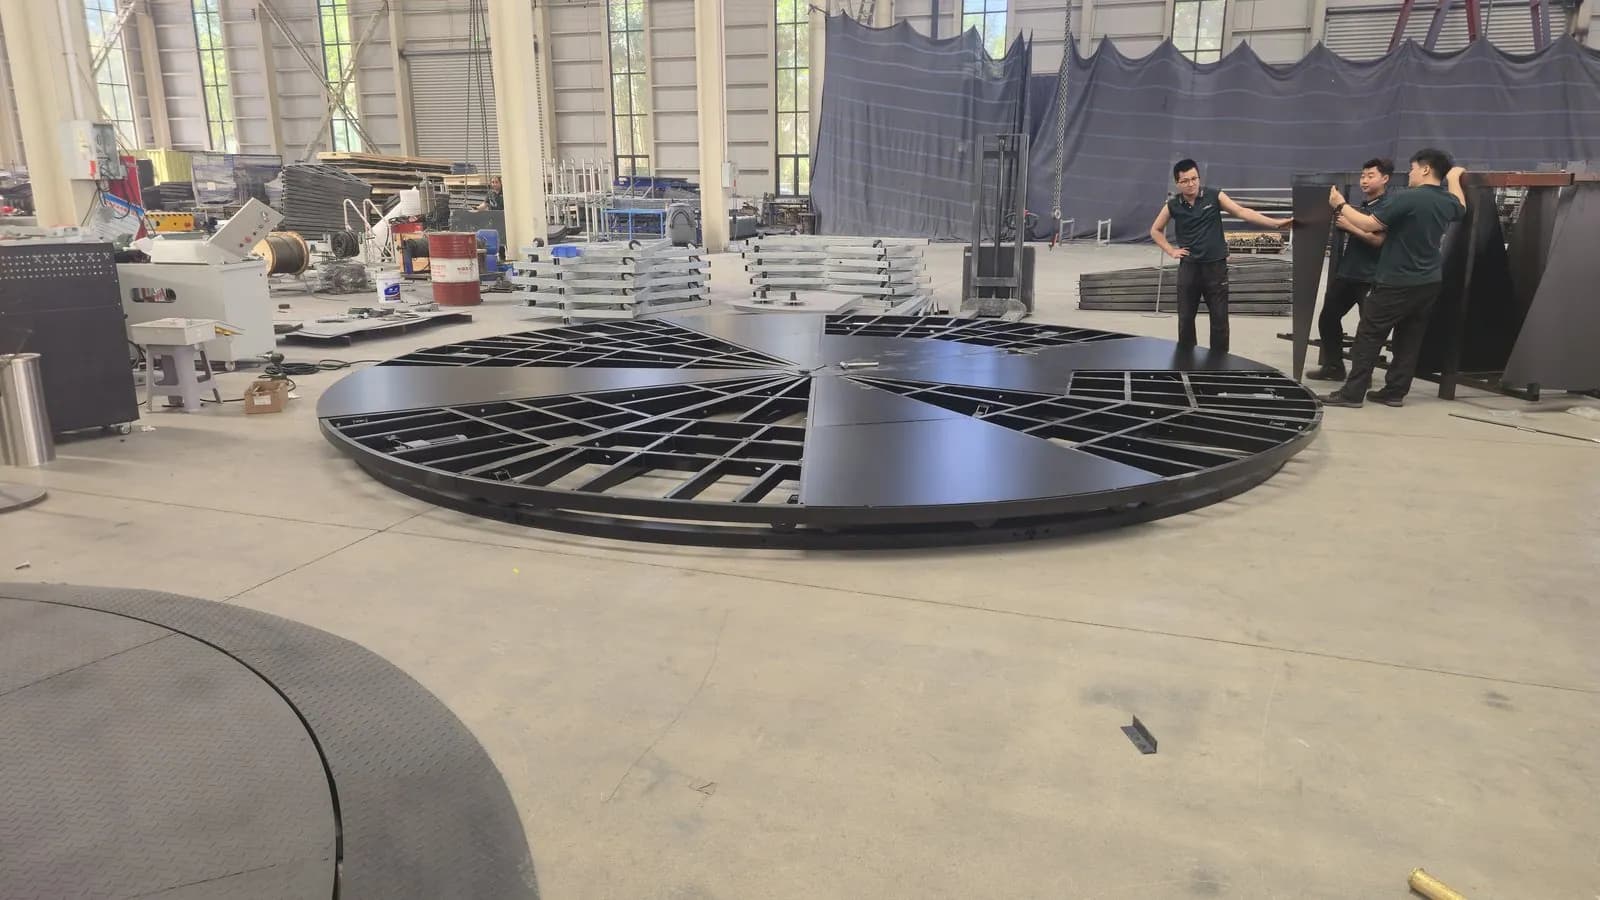
Civil work and electrical preparation
Plan a car turntable installation for CTA pit-mounted or CTB pitless projects. Check pit or floor preparation, concrete, drainage, conduit, voltage, cabinet position and the details needed for quote review.
Quick facts
Key information for early model selection before Huanyu reviews the site, vehicle data and installation conditions.
Fast installation review
Send diameter, vehicle model, floor or pit condition, voltage, destination country and site photos for quote review. This is faster than asking for a generic price because Huanyu can compare CTB pitless and CTA pit-mounted options around the real site.
Project review
Huanyu confirms the final design after reviewing the site, vehicle data, destination country and installation preference.
Short answer
For pit-mounted CTA projects, confirm the pit, concrete, drainage, conduit and cabinet position before production. For pitless CTB projects, confirm the finished floor, ramp space, vehicle clearance, power route and drainage before shipment.
Many installation pages mention a pit, but buyers still need to know when the pit drawing, diameter, depth, cabinet side and finished floor level should be confirmed.
Surface-mounted CTB projects avoid a deep foundation pit, but the floor, ramp area, vehicle clearance, cable route and drainage still need to be reviewed.
Overseas buyers need drawings, manuals, photos, videos and remote guidance, while local civil, electrical and safety checks remain the responsibility of the site team.
Send these details before asking Huanyu to confirm the model, drawing and installation support scope.
Evidence-backed project handoff
A useful installation review names what the buyer sends, what Huanyu confirms and what the local team must verify. It also fixes the packing and unloading scope before the machine reaches site.
Vehicle data, approach direction, floor or pit condition, local power, destination, site photos and a marked plan, CAD file or hand sketch.
The applicable model, approved project drawing, equipment and packing scope, installation documents and remote technical-support scope. Project documents take priority over catalog references.
Foundation or slab, pit, drainage, conduit, lifting access and local safety requirements. Mechanical work needs trained installers; electrical work needs a qualified electrician.
Module split, unloading access and included accessories can change freight and on-site work. Confirm the packing and installation scope in the quotation before shipment.
Drawing-based installation notes
Reference drawings show how the pit, concrete, PVC conduit, drainage and turntable clearance are planned. The final drawing is confirmed according to the project model and site.
CTA pit-mounted visual references
Use these visuals as planning references when discussing pit-mounted CTA preparation with a local builder or installer.
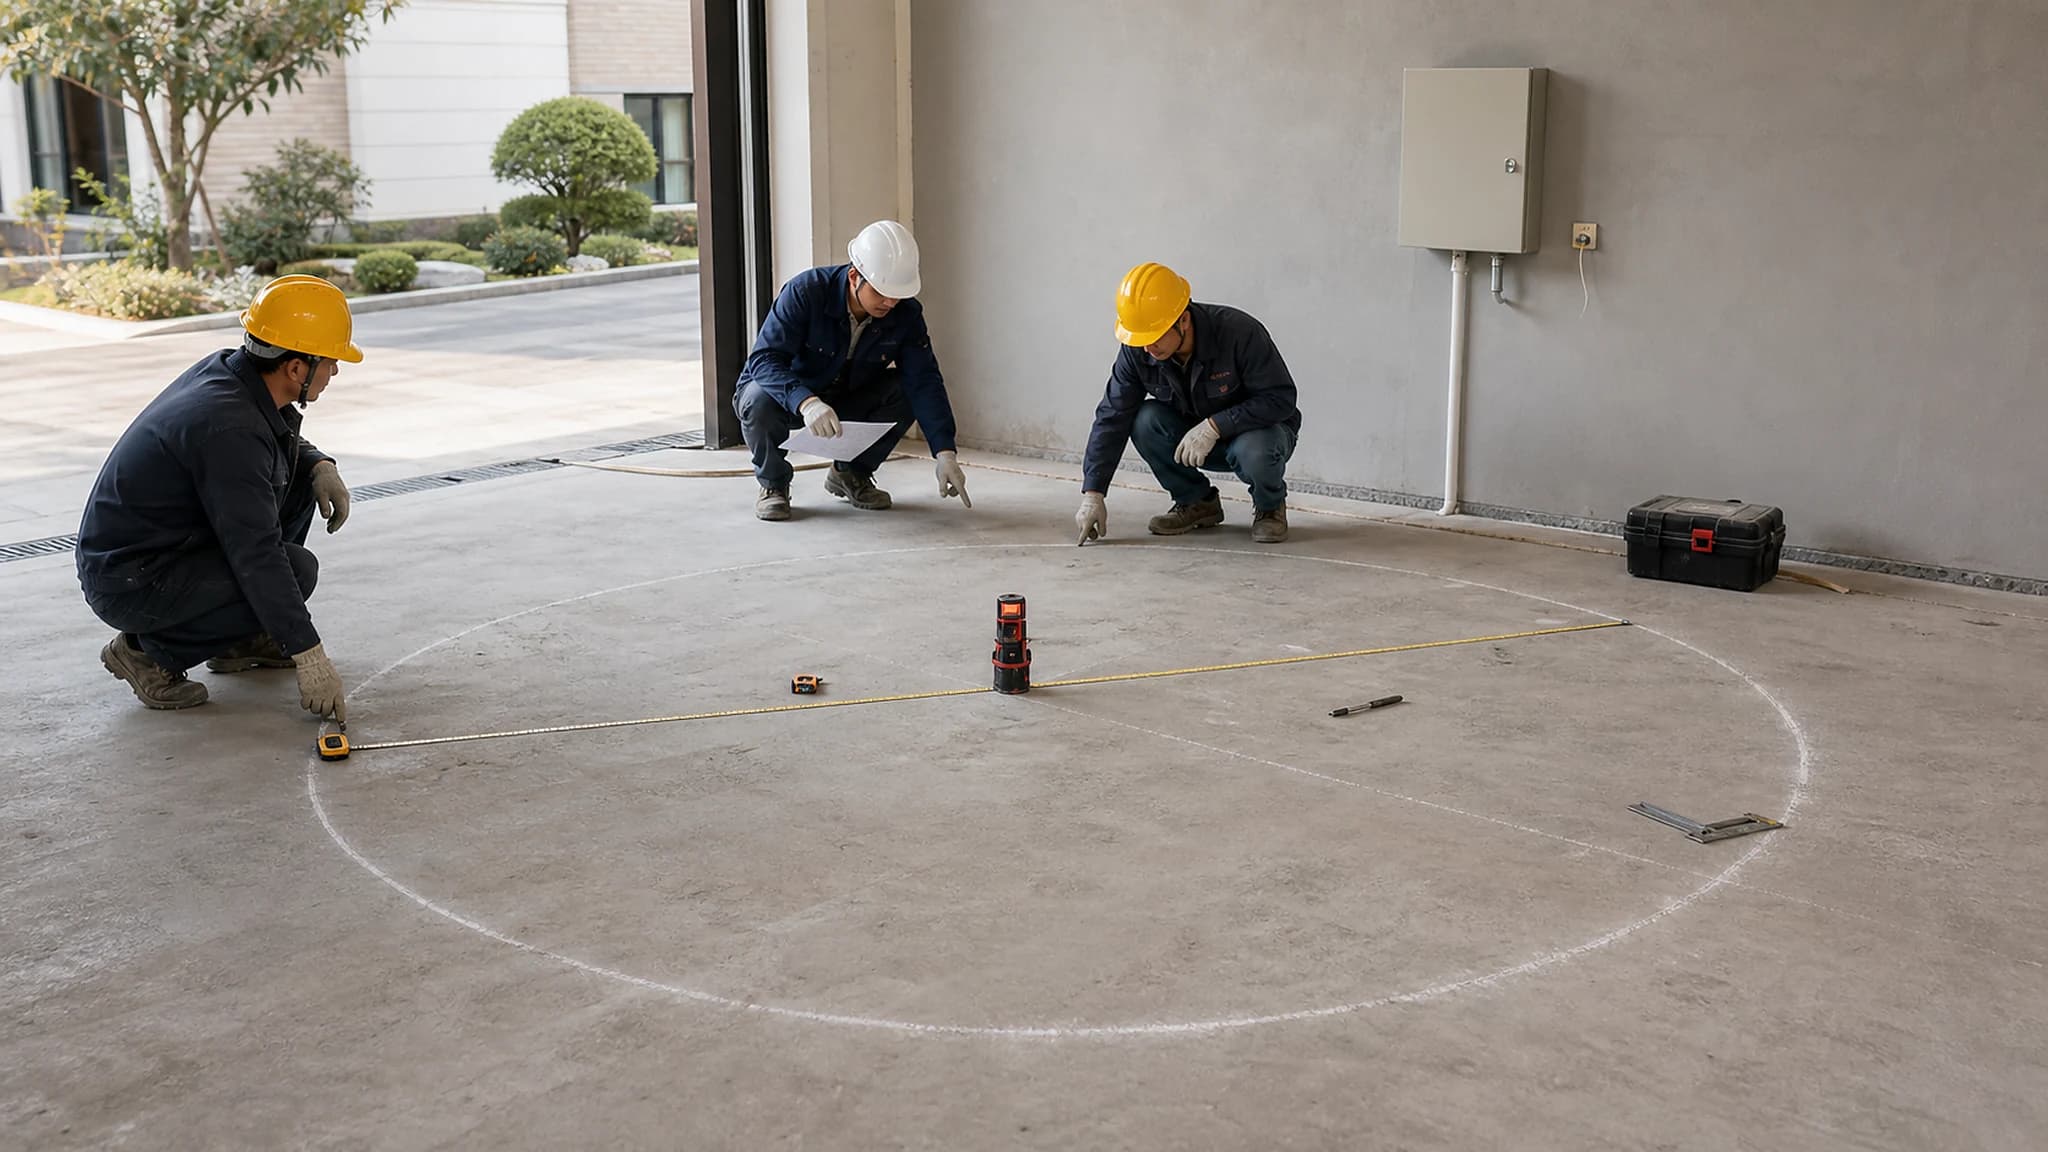
Use drawings and site measurements to confirm the circle, vehicle approach and cabinet side.
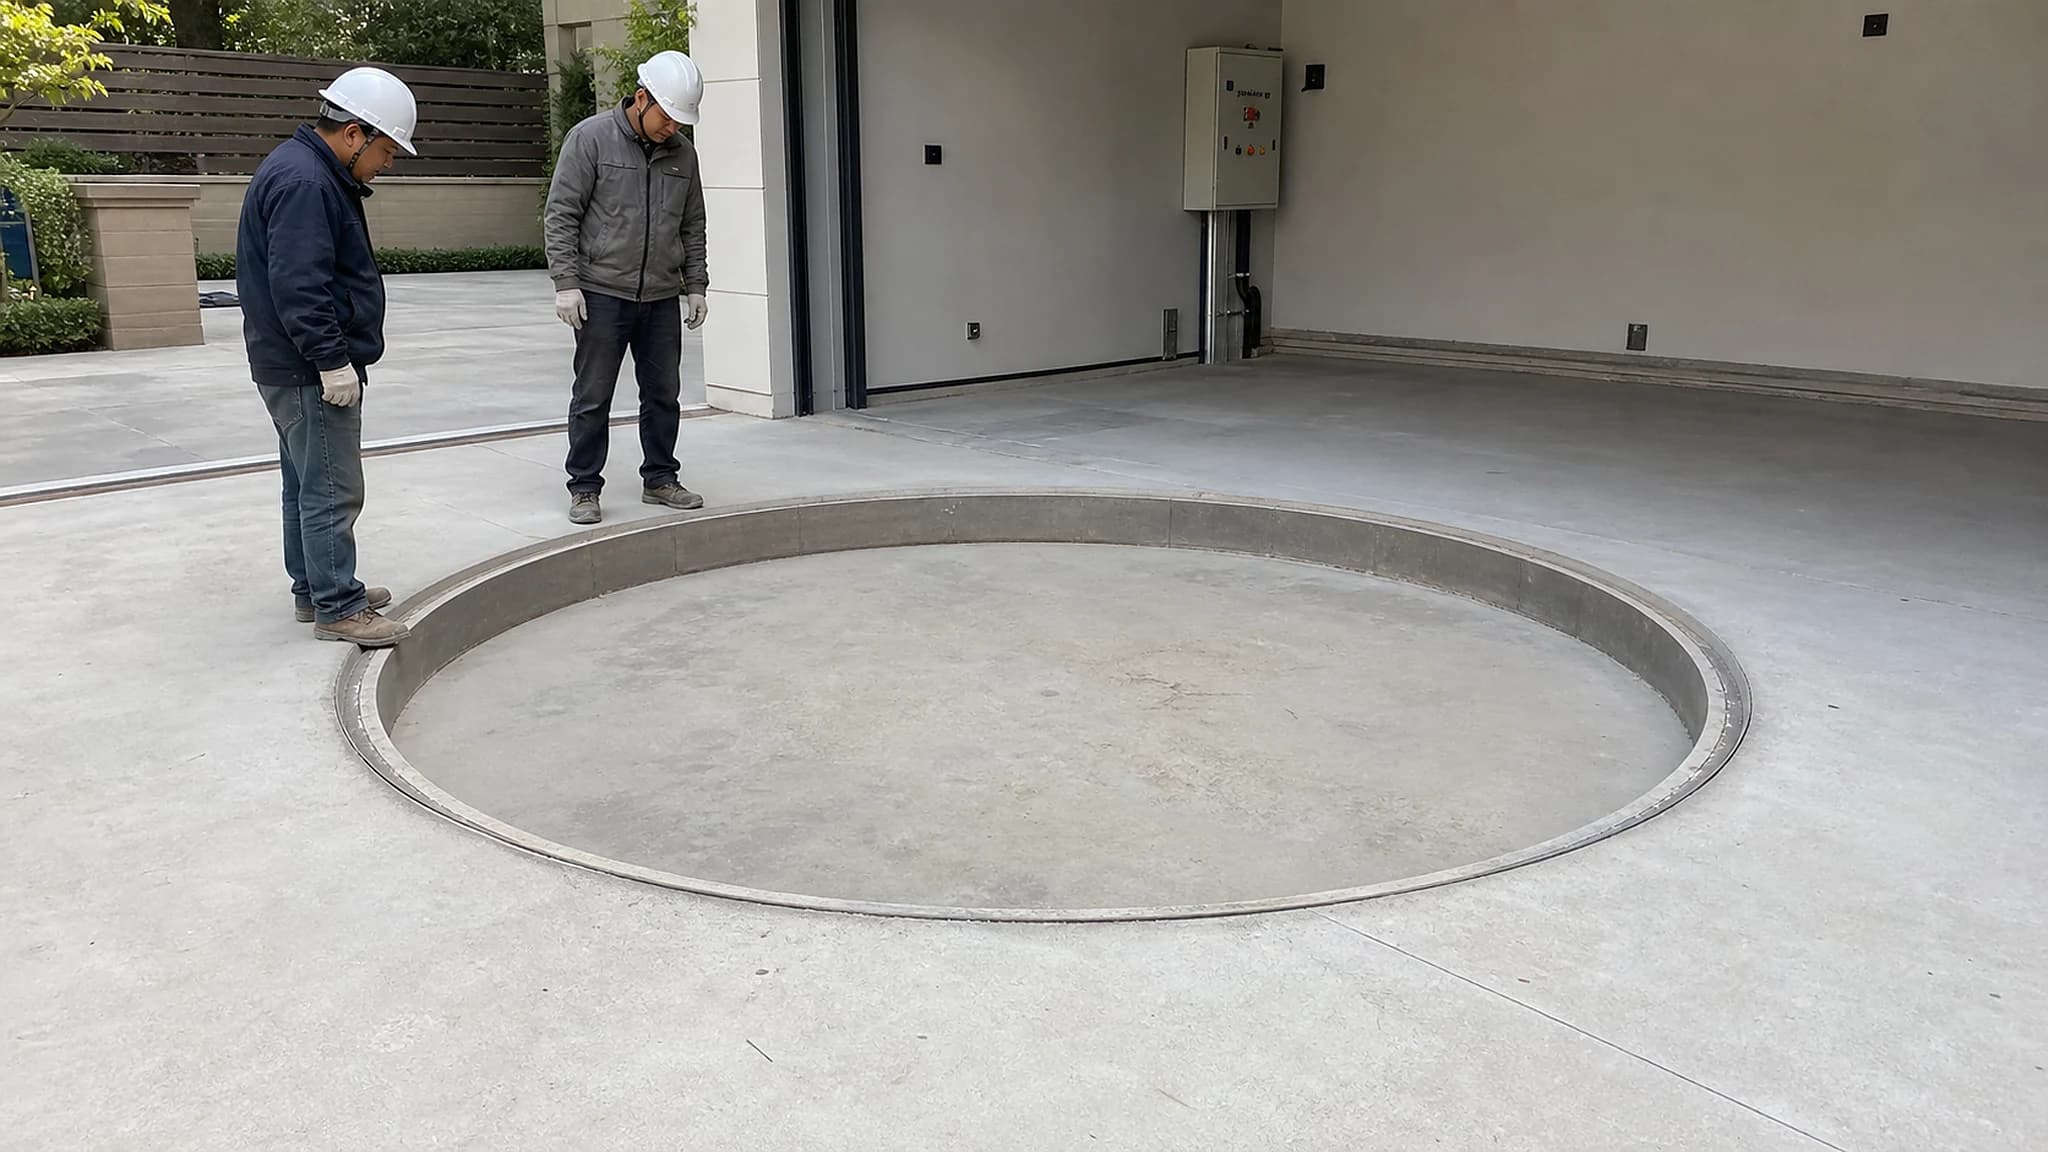
The pit depth, circularity and finished floor level need to match the confirmed model drawing.
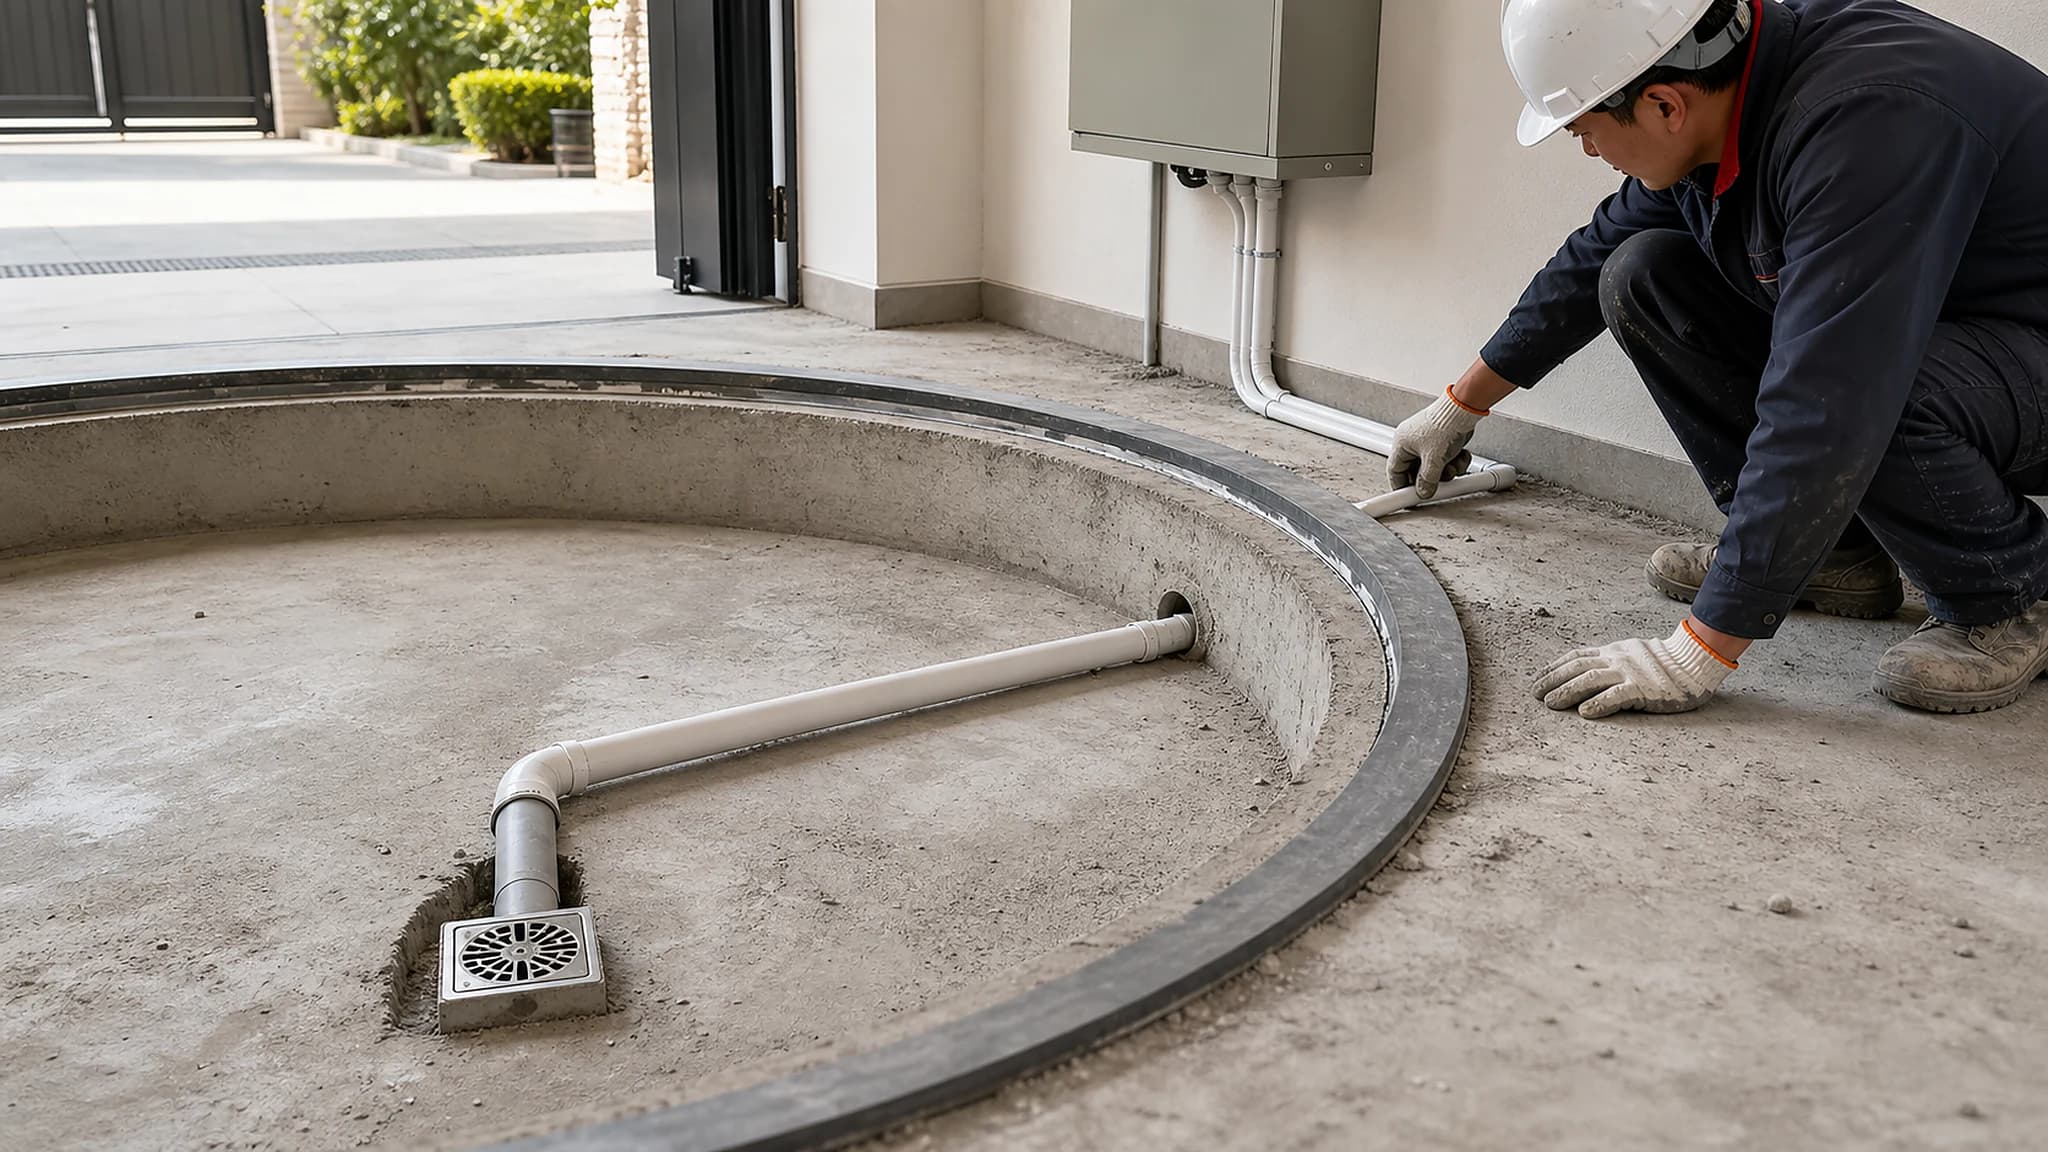
Plan electrical conduit and water outlet routes before the pit is closed by finish work.
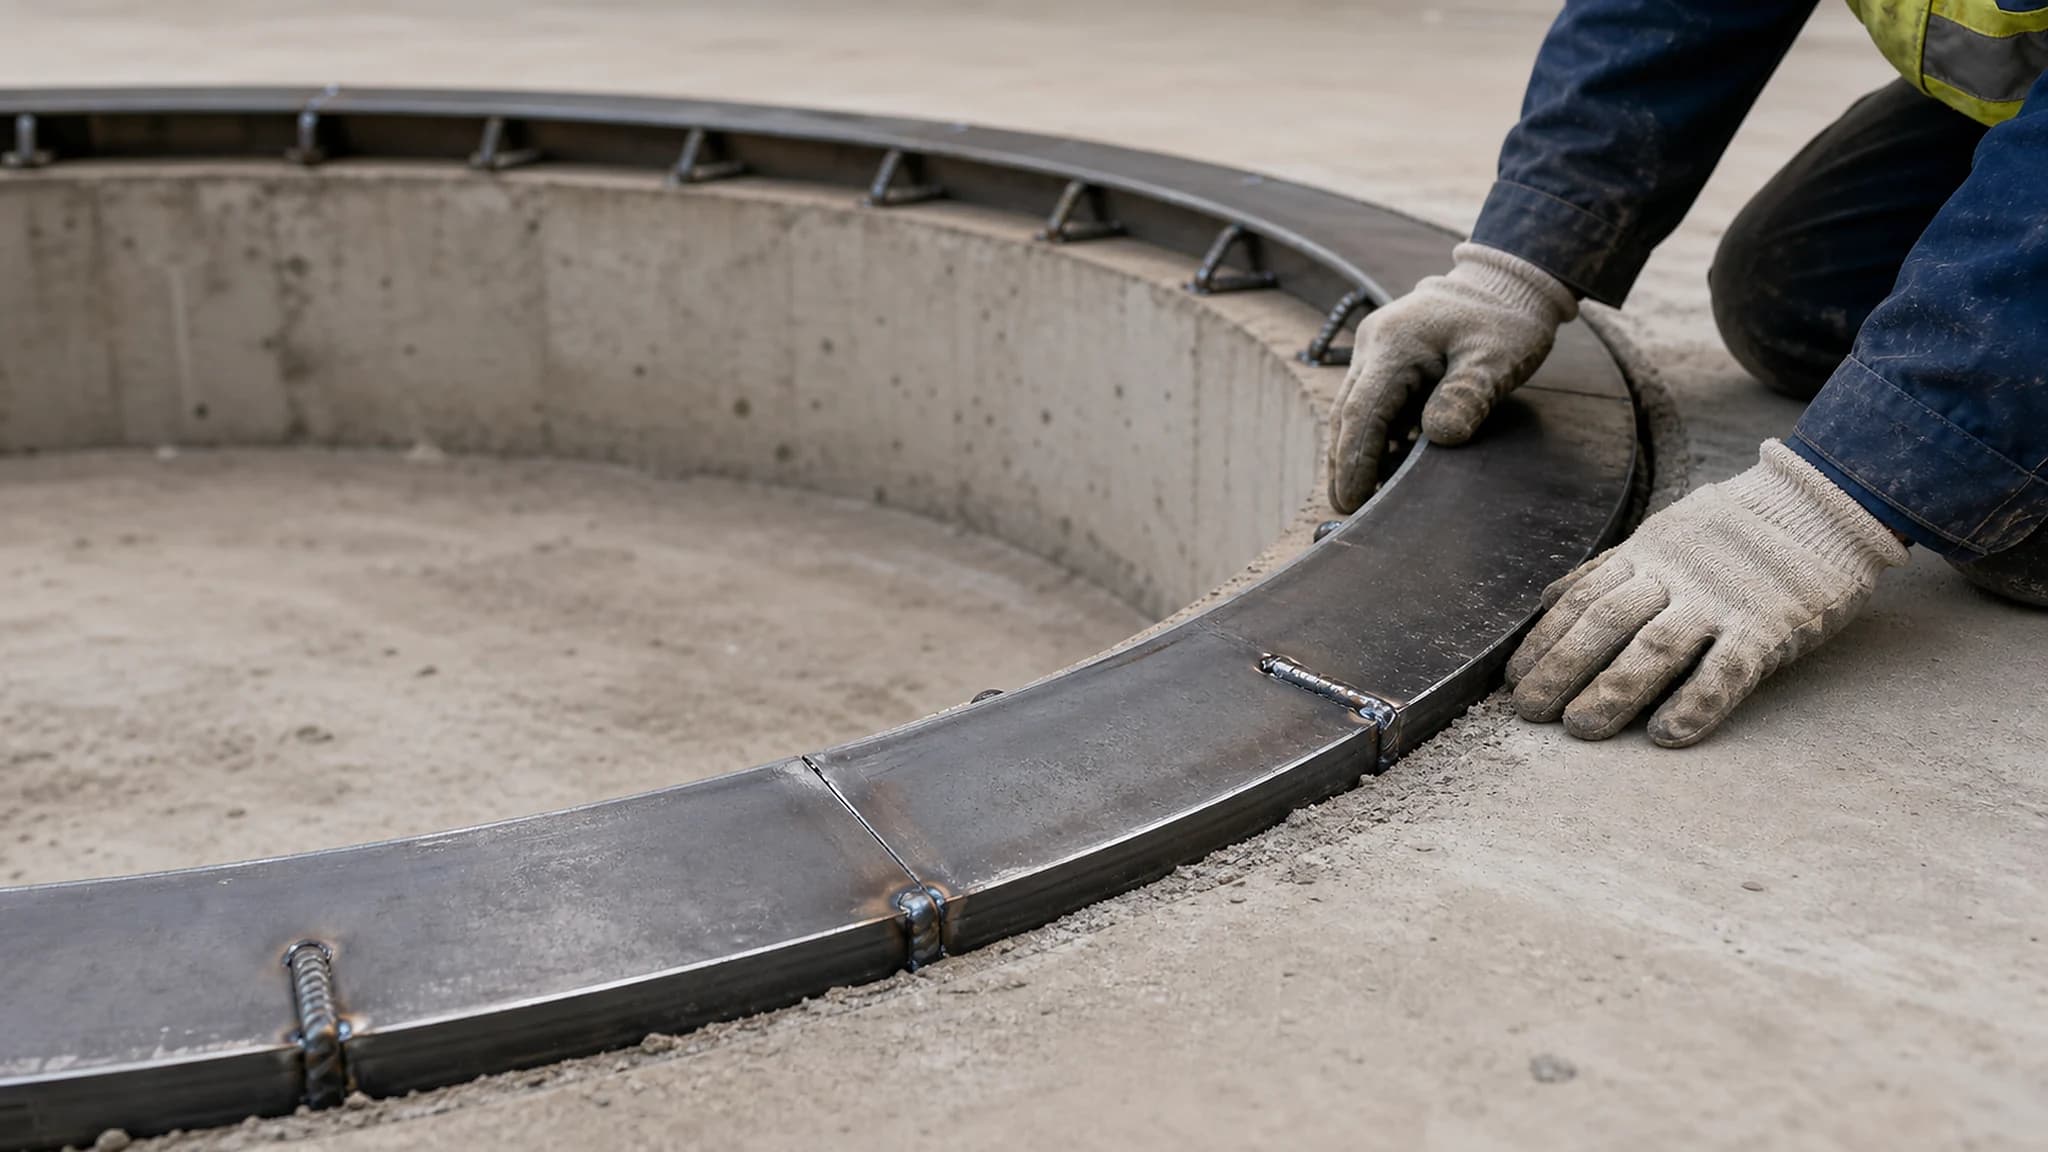
A protected pit edge helps reduce concrete damage when vehicles enter and leave the platform.
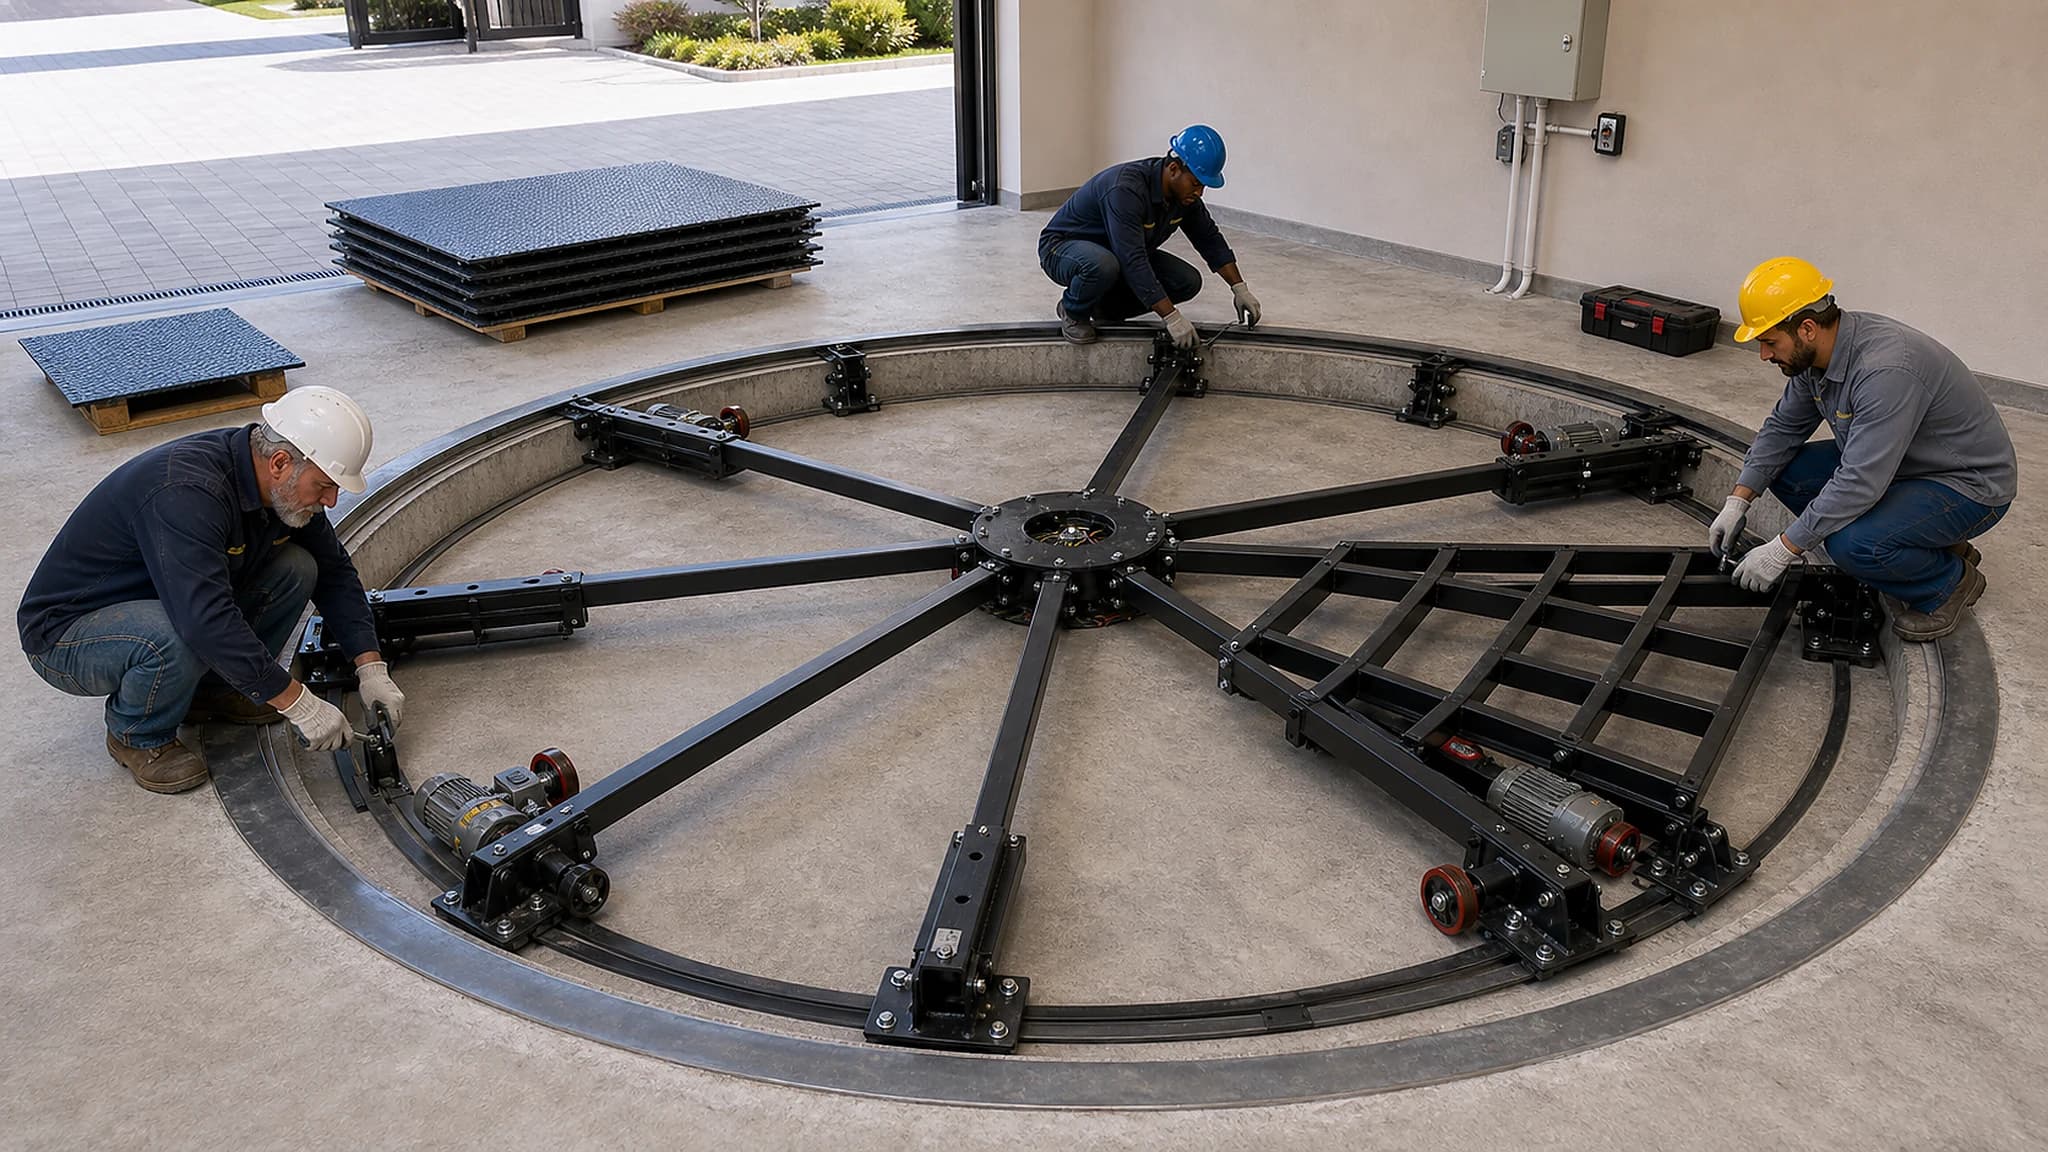
Frame and drive components are positioned before the final top surface is completed.
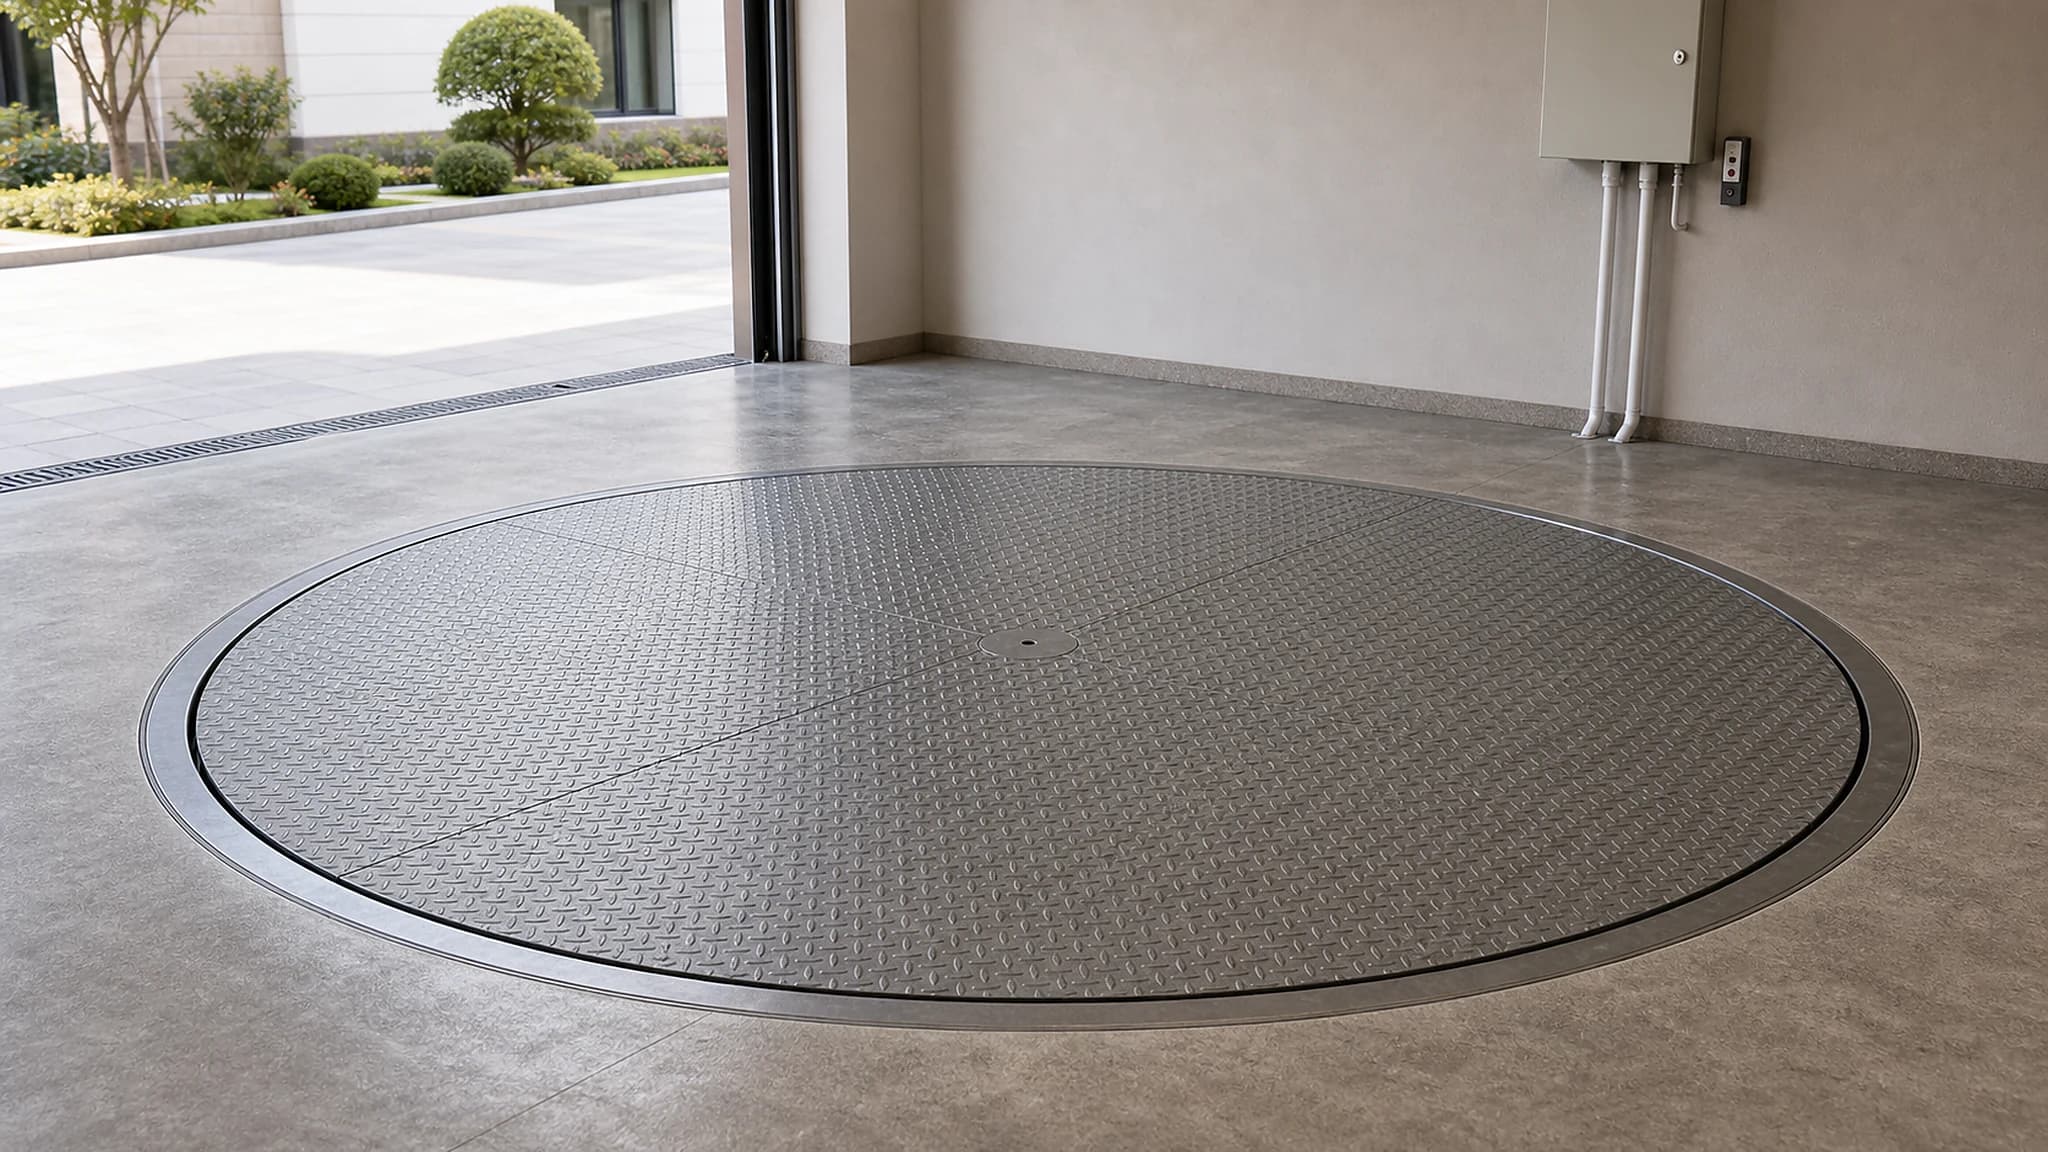
The visible platform should align with the surrounding floor and keep service access in mind.
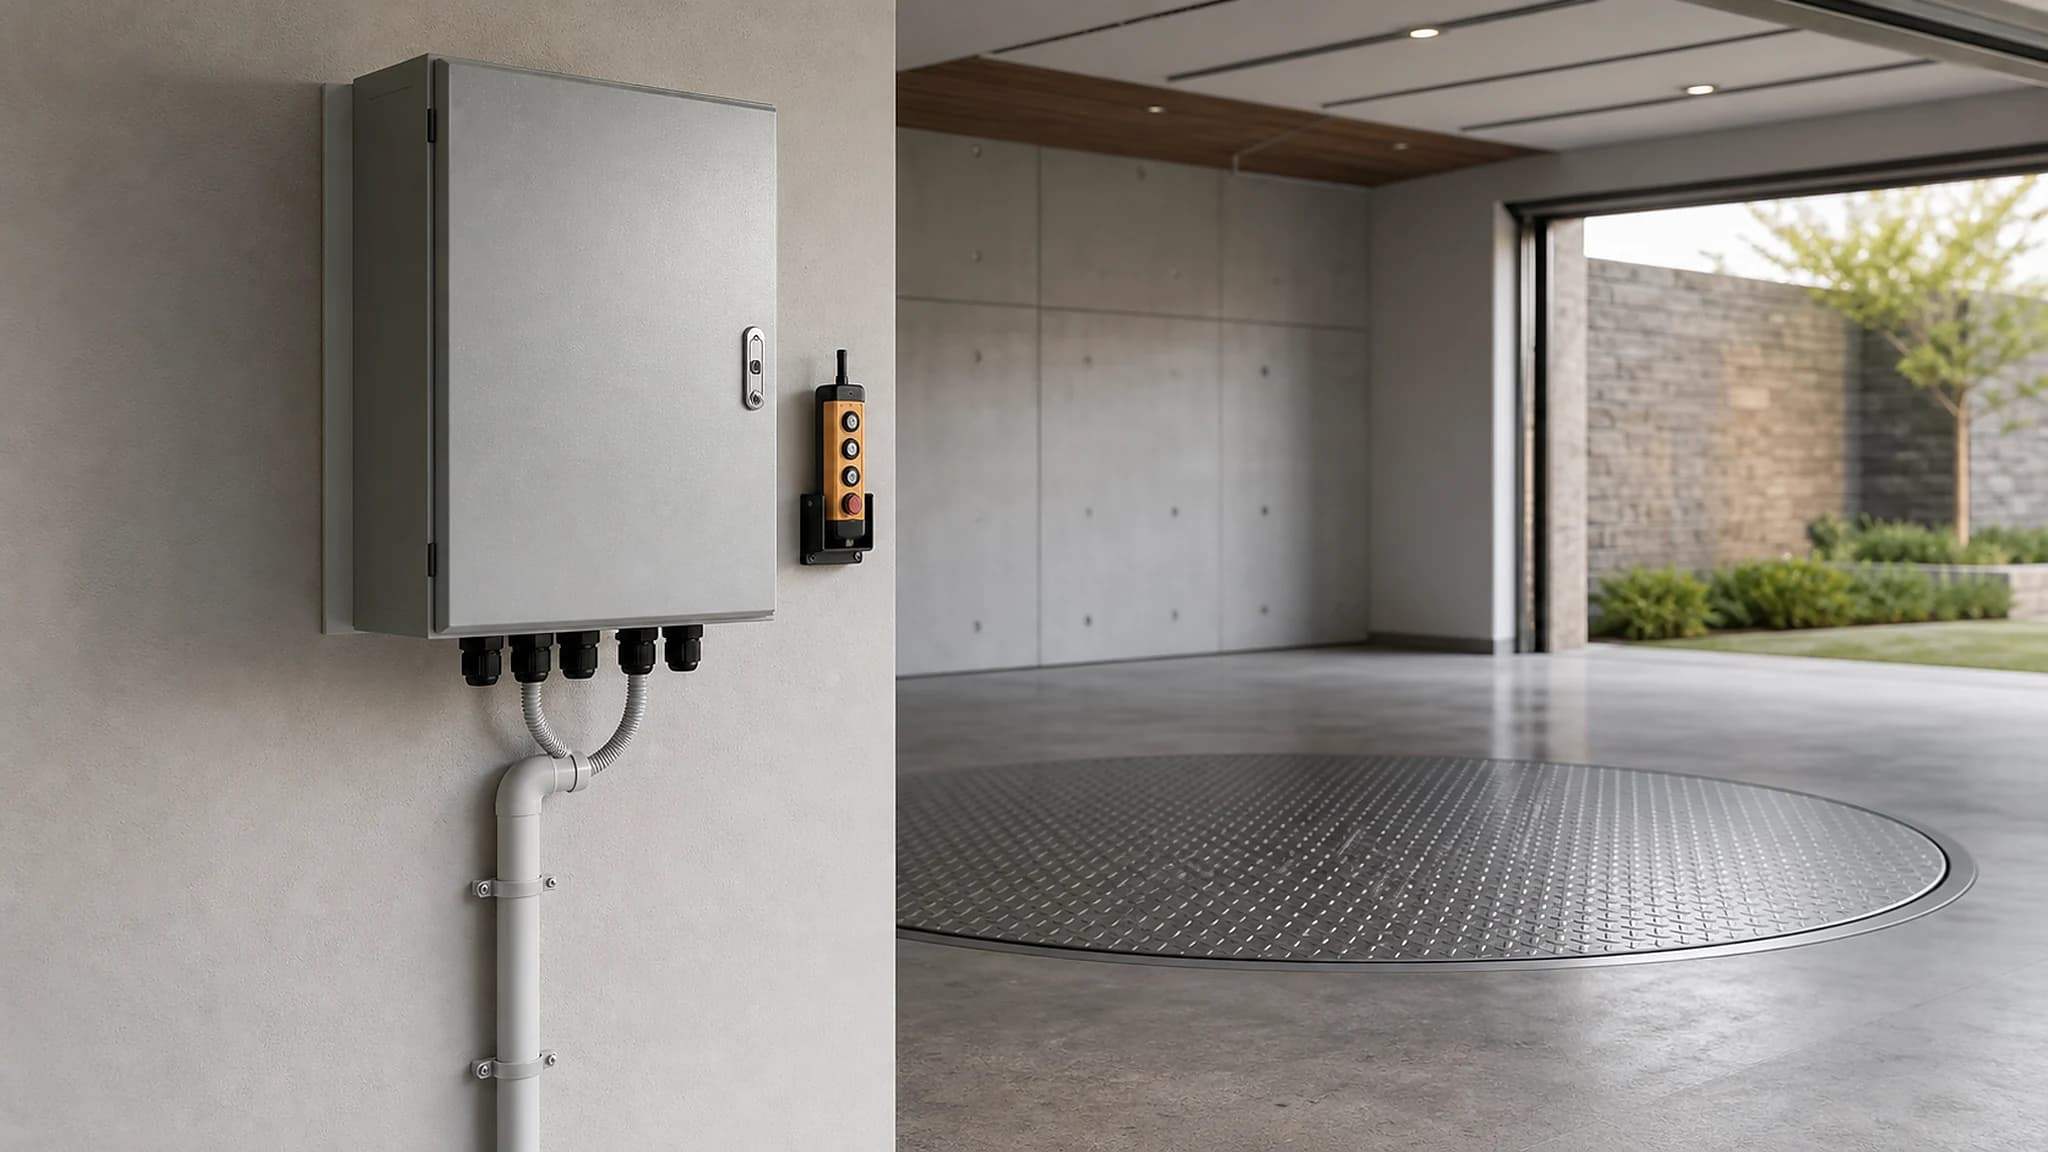
Voltage, cable route, cabinet position and control preference should be confirmed before production.
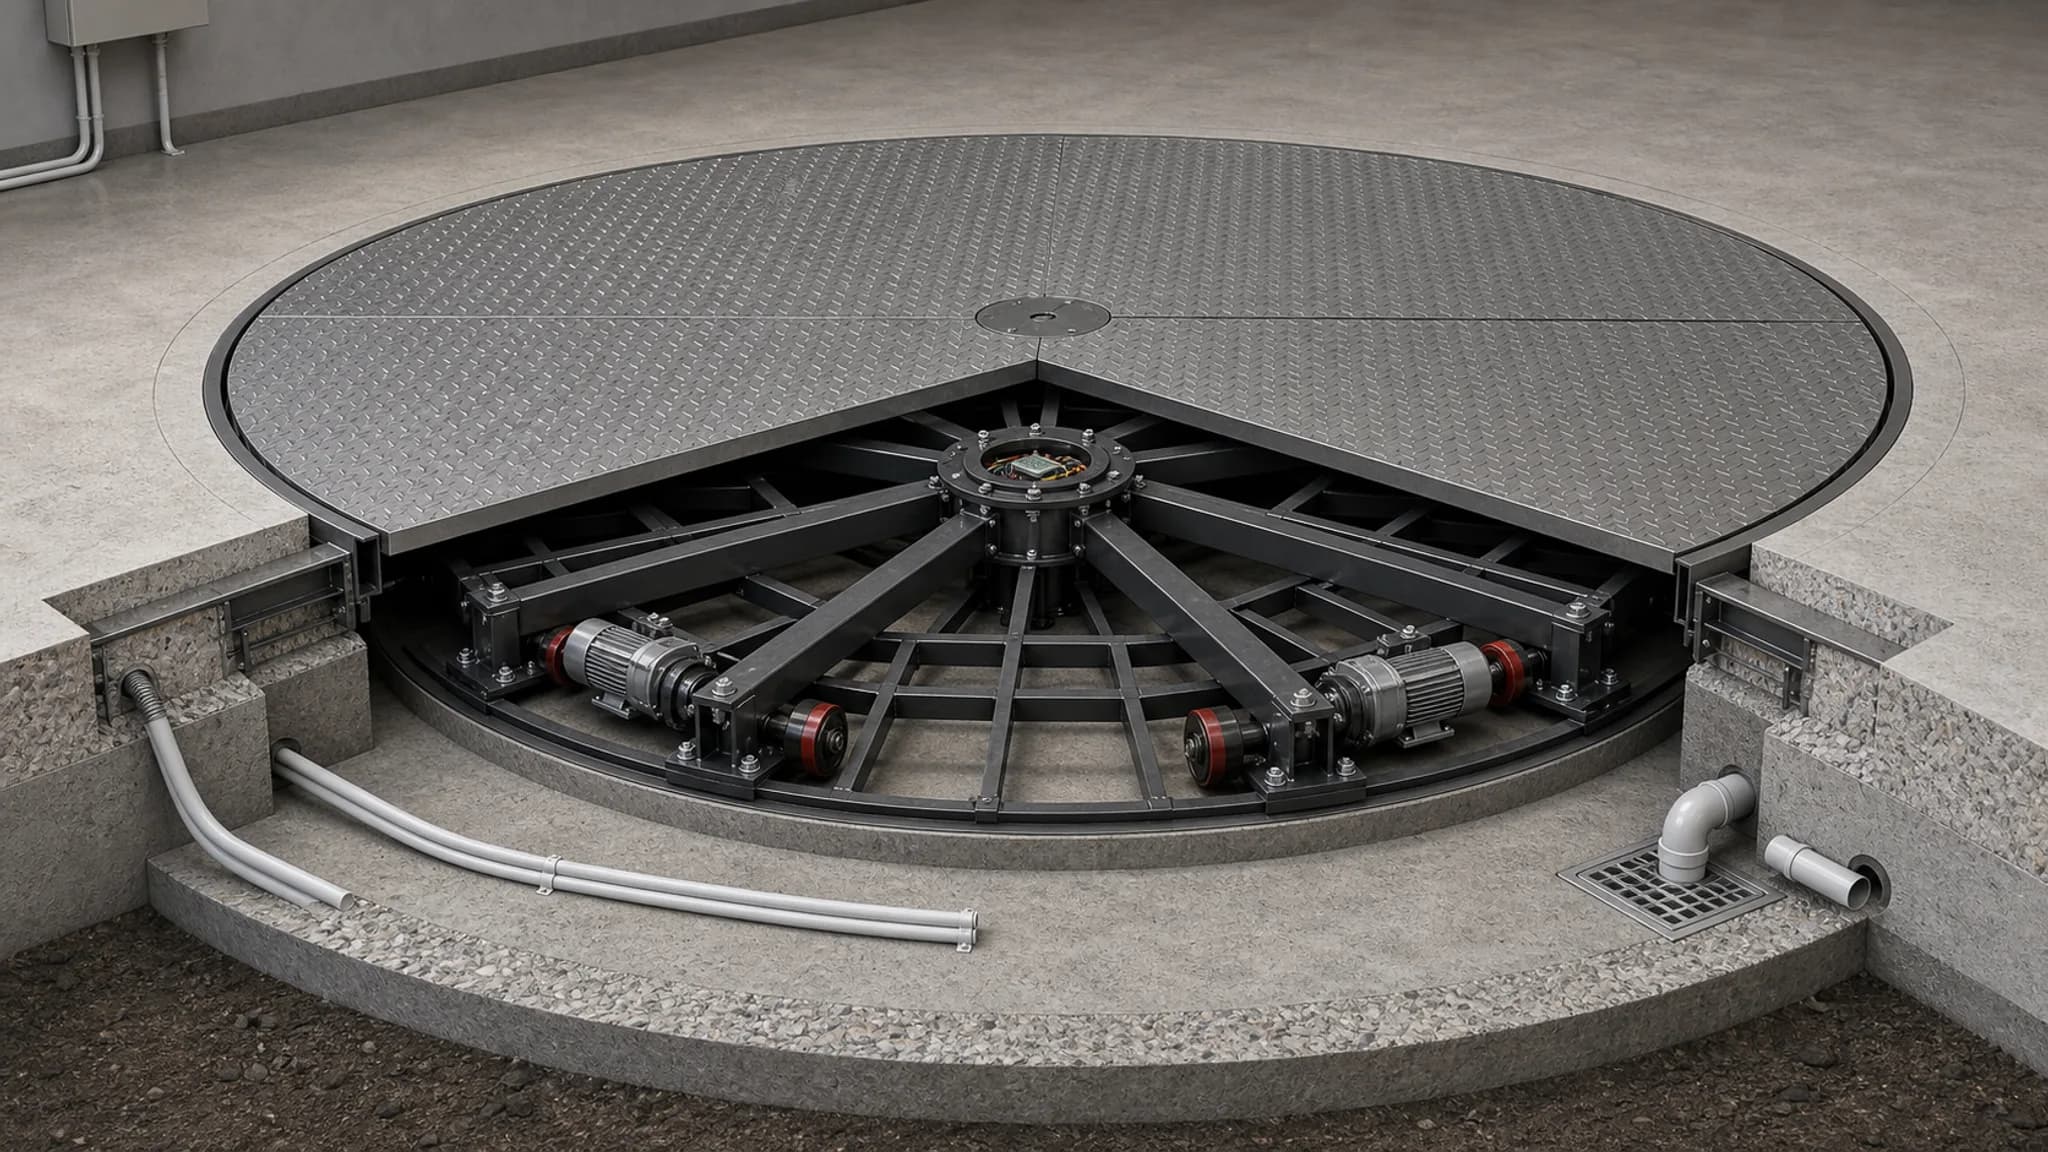
A cutaway reference helps explain the recessed structure, support frame and service space.
Use this when the garage, showroom, photo studio or driveway floor already exists and the buyer wants to reduce deep construction.
Use this when the project is still in drawing, new construction or renovation and the owner wants a cleaner flush-floor result.
Pin-gear installation manual reference
This summary applies to the pin-gear pit-mounted installation manual, not every CTA or CTB model. Friction-drive catalog models use a different structure, and the approved project drawing and manual always govern the work.
Before installation, the trained mechanical team checks the pit center, motor pit, cable outlet, approved civil drawing and delivered parts. A qualified electrician reviews the electrical work.
The central base, roller assemblies and connecting beams are positioned from the project drawing before the drive and circular frame are closed.
The applicable pin-gear manual sequences the motor reducer, pin-gear ring segments and meshing adjustment before the final closure segment is fixed.
Sector frames and electrical connections follow the marked project sequence. The approved drawing and manual take priority over any public summary.
Mechanical movement and electrical operation are checked before the top panels are installed. If circularity, concentricity or local binding is abnormal, work stops for remeasurement and adjustment.
After the controlled test is accepted, the panels can be installed. The handover record should identify the project, equipment, drawing revision, installation lead, test result and open items.
Before production confirmation
Late changes to platform diameter, cabinet side, voltage, drainage route or surface finish can affect drawings, packing and local installation work.
For an overseas car turntable project, the factory can prepare the rotating platform, drawings, manuals and packing plan, but the site still needs local civil and electrical coordination. The most useful early document is not a general brochure. It is a project drawing that matches the selected diameter, vehicle data, pit or floor condition and control cabinet location.
If the site is outdoors, semi-outdoor or in a basement, drainage should be treated as a design item, not an afterthought. If the site is finished, the buyer should confirm whether a ramp, raised platform edge or visible cable route is acceptable before choosing a pitless solution.
These checks are based on the installation manual workflow and help reduce rework before final fixing and testing.
Yes. Huanyu can provide drawings, manuals, photos, videos and remote guidance. The local contractor should still review concrete, drainage, electrical work, lifting equipment and site safety according to local practice.
For CTA pit-mounted projects, the pit should be prepared according to the confirmed drawing before installation. The pit must match the final model, diameter, depth, conduit side, drainage and finished floor level.
It usually reduces deep civil work on a suitable finished floor, but it is not a no-planning product. The floor, ramp, vehicle clearance, power route and drainage still need to be checked before production.
Common delays come from an unfinished pit, wrong pit level, missing drainage, unclear cabinet position, blocked access for heavy modules, or late changes to voltage, finish or platform diameter.
Related planning pages
These related pages help buyers choose the correct installation type, prepare project details and request a clearer quotation.
Review the 120 mm low-profile option for finished floors and renovation sites.
Check the recessed option for new-build and flush-floor projects.
Compare civil work, appearance, drainage, cost and best-fit scenarios.
Understand how installation type affects the project quote scope.
Share drawings, vehicle data, voltage and destination for a practical recommendation.
Specifications
These catalog ranges help with early planning and are separate from the pin-gear manual reference above. The approved model drawing, quotation and installation manual govern the project.
CTA and CTB cover the main project requirements for pit-mounted and surface-mounted car turntables. Final model selection is confirmed after reviewing site dimensions, vehicle weight and installation conditions.
| Series | Model | Type | Diameter | Load | Height |
|---|---|---|---|---|---|
| CTA | CTA35-3 | Pit-mounted | 3.5m | 3000kg | 250mm |
| CTA | CTA40-3 | Pit-mounted | 4.0m | 3000kg | 250mm |
| CTA | CTA45-3 | Pit-mounted | 4.5m | 3000kg | 250mm |
| CTA | CTA45-4 | Pit-mounted | 4.5m | 4000kg | 250mm |
| CTA | CTA50-4 | Pit-mounted | 5.0m | 4000kg | 250mm |
| CTA | CTA60-5 | Pit-mounted | 6.0m | 5000kg | 250mm |
| CTA | CTA65-5 | Pit-mounted | 6.5m | 5000kg | 250mm |
| CTB | CTB40-3 | Pitless | 4.0m | 3000kg | 120mm |
| CTB | CTB45-3 | Pitless | 4.5m | 3000kg | 120mm |
| CTB | CTB45-4 | Pitless | 4.5m | 4000kg | 120mm |
| CTB | CTB50-4 | Pitless | 5.0m | 4000kg | 120mm |
Project proof
Customer project images are anonymized before use and can support trust during model and installation discussions.
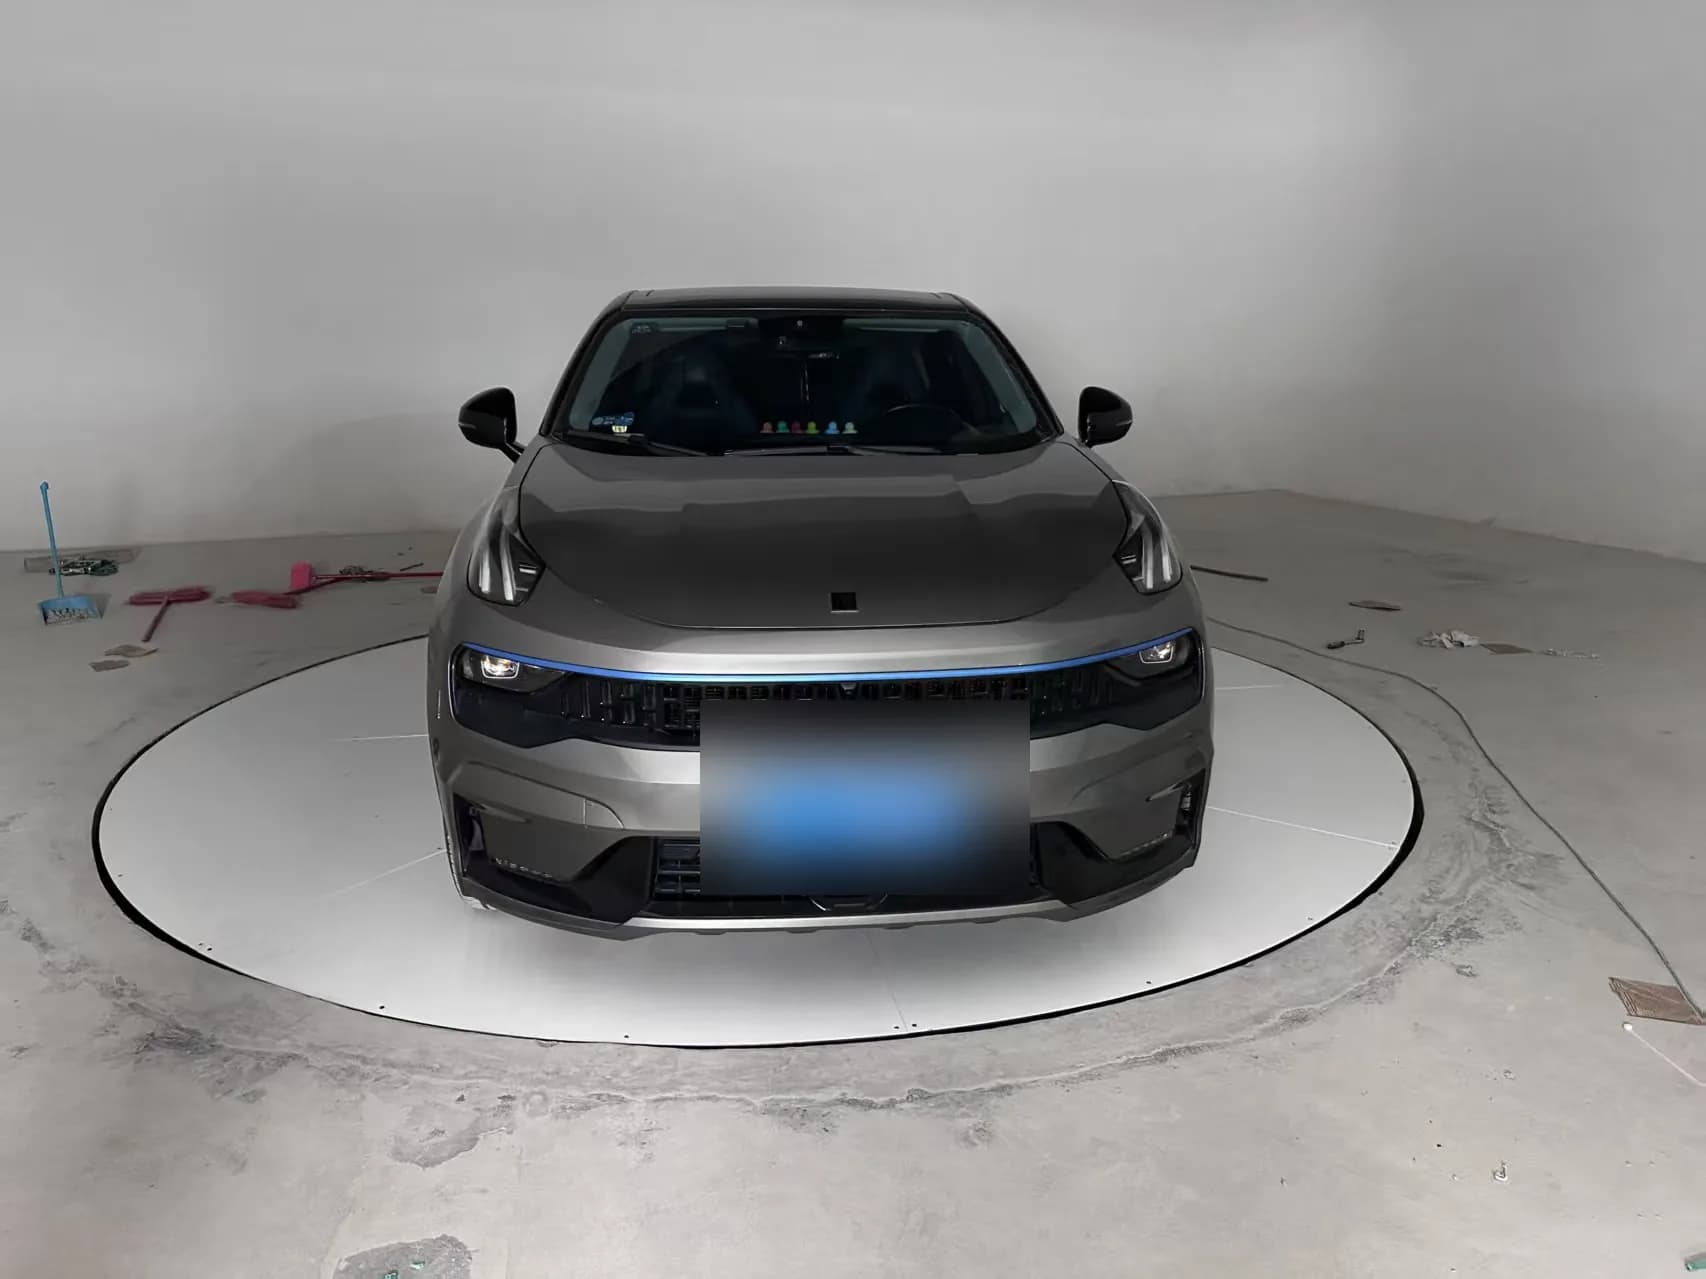
Privacy-masked project photo after installation, showing a flush white platform and vehicle positioning.

The completed turntable supports stable vehicle rotation for display and daily access.
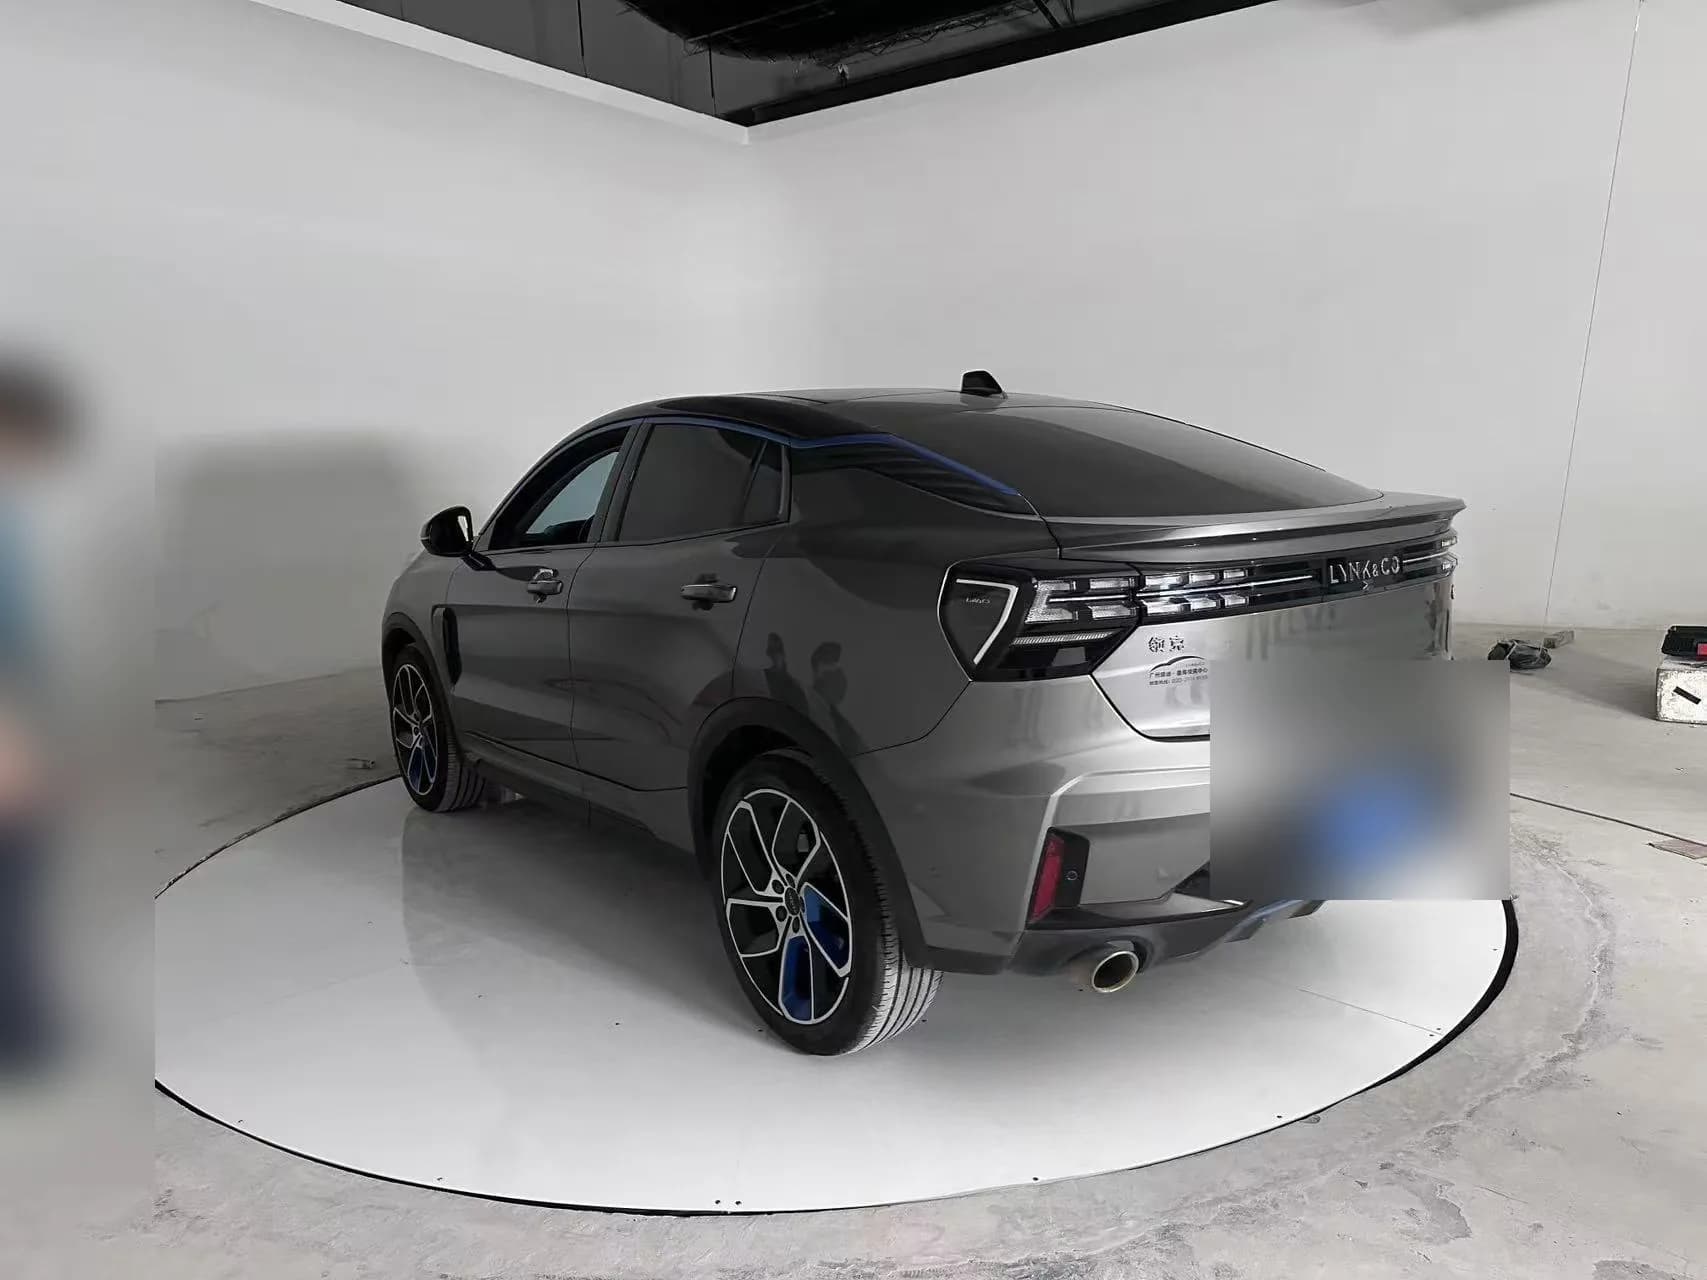
Customer vehicle and site media are anonymized before publication to protect project privacy.
Commercial terms
These notes help buyers understand the usual quotation process. Final commercial terms are confirmed in each quotation, proforma invoice or signed contract.
Quotation validity is stated on each offer because raw material, exchange rate and freight conditions can change.
Standard payment term is 50% deposit after order confirmation and 50% balance before shipment, unless the final quotation, PI or contract states otherwise.
EXW, FOB, CIF and DDP quotations can be prepared according to destination and service scope.
The complete machine is covered by a one-year warranty. Final warranty scope and service details follow the quotation, PI or contract.
Drawings, manuals, videos and remote technical support can be provided. On-site service is quoted separately.
Project quotation
Send the diameter, vehicle weight, installation type and destination country. Huanyu will prepare a project-based quotation.